Vitis AI Tutorial – Part 2
Published On: November, 14, 2023 By: Eshtaartha Basu | Updated: November 7, 2024 by Neeraj Dantu
This tutorial will walk you through the steps required to generate Acceleration Ready Petalinux Software Components with Vitis-AI 2.0 and Xilinx Real Time (XRT) support. We will be using the OSDZU3-REF Petalinux BSP as an example starting point.
This tutorial can be used standalone or as Part 2 of a 4-part Acceleration tutorial series that will help you run Vitis-AI DPU-TRD based Face Detection demo, ADAS Detection demo (and other AI demos) on the OSDZU3-REF board. An overview of the flow is shown below:
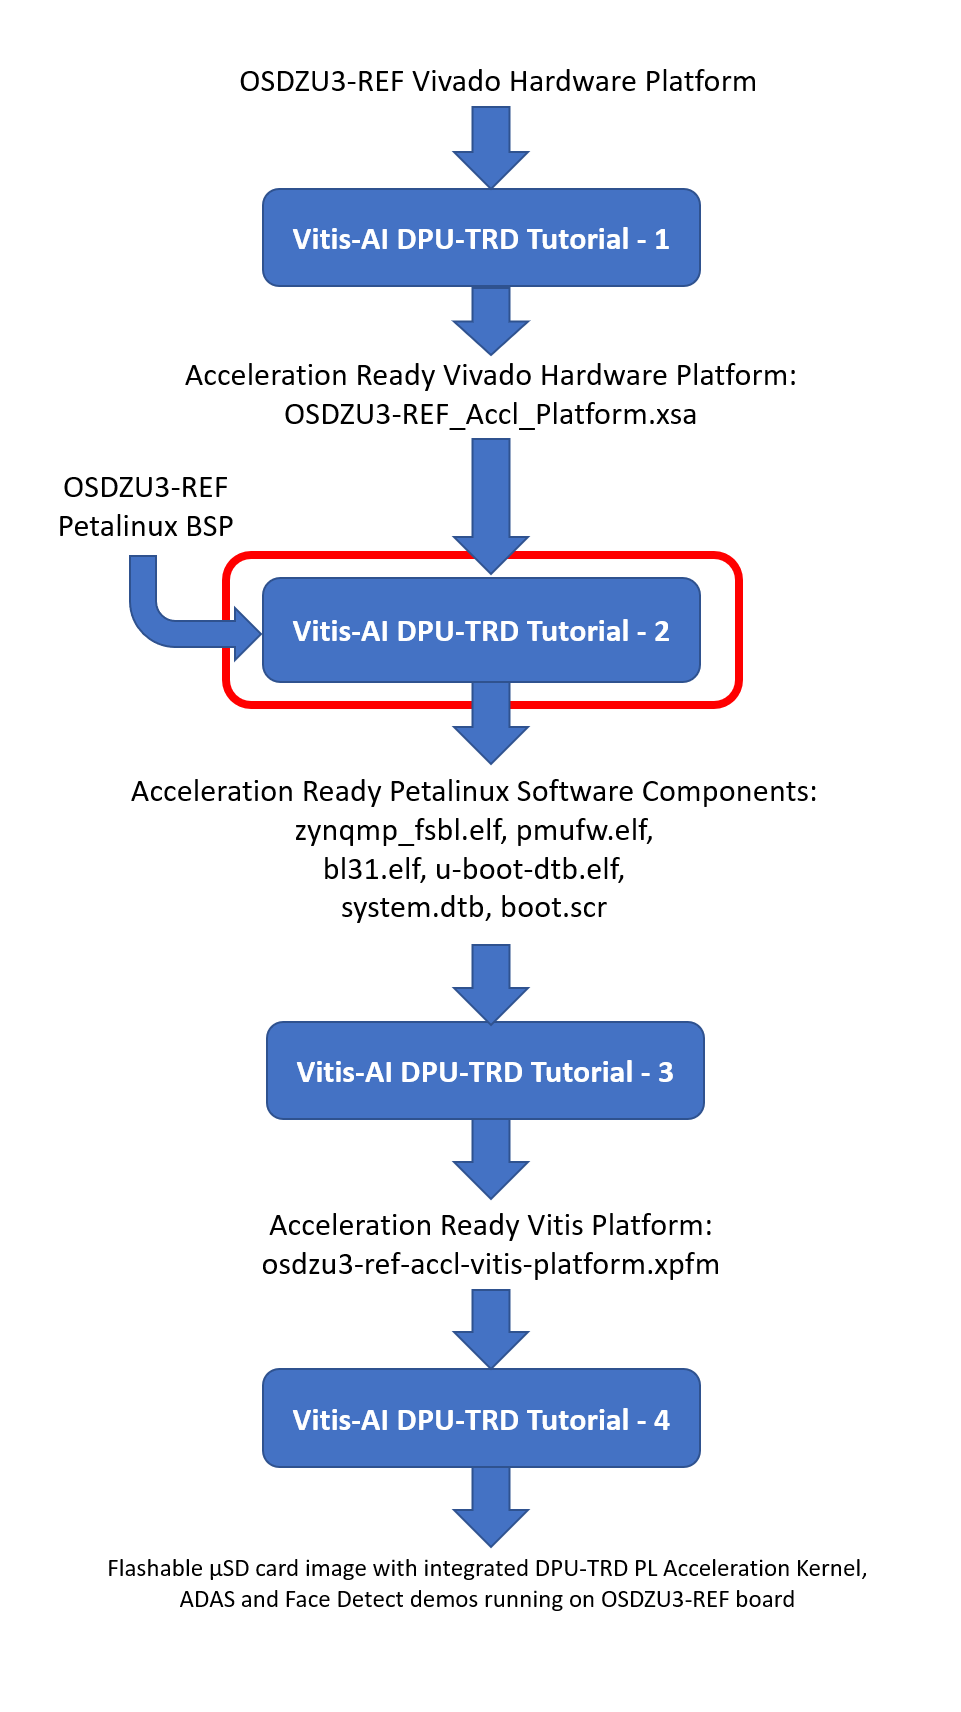
Table of Contents
Pre-requisites
This tutorial assumes the user is already familiar with the OSDZU3-REF Vivado and Vitis Design Flow by going through:
The user has already gone through Part 1 of this Tutorial series and has generated OSDZU3-REF_Accl_Platform.xsa file.
Objectives
To make the existing OSDZU3-REF Petalinux BSP Acceleration Ready, the user needs to:
- Add new petalinux packages and update existing ones to support PL Acceleration, Vitis-AI 2.0 and Vitis XRT
- Configure petalinux network, power and package management to support acceleration
- Suitably update Device Tree
- Build Petalinux Image
Tutorial Requirements
This tutorial will require the following software setup.
- Petalinux 2021.2 (Xilinx account and licenses may be required)
- We recommend installing Petalinux 2021.2 in /home directory of your Linux Host PC
- OSDZU3-REF Vivado Hardware Project provided by Octavo System

Create new Petalinux project using OSDZU3-REF Petalinux BSP
This section will describe the steps required to create a new Petalinux project using OSDZU3-REF Petalinux BSP.
- Make a directory called “petalinux” in your workspace, “cd” into it and download OSDZU3-REF Petalinux BSP into it
mkdir petalinux
cd petalinux
- Download OSDZU3-REF Petalinux BSP
- Source petalinux environment
source <your_petaLinux_install_dir>/settings.sh - Create a new PetaLinux project utilizing the OSDZU3-REF BSP:
petalinux-create -t project -n osdzu3-ref_accl_platform -s <path_to_osdzu3-ref-2021.2.bsp>

- cd osdzu3-ref_accl_platform. The contents of the project folder should look similar to what is shown below.


- Update the petalinux project’s hardware with the Acceleration Ready OSDZU3-REF hardware (OSDZU3-REF_Accl_Platform.xsa) we created in Vivado as part of Tutorial 1 using the command:
petalinux-config --get-hw-description=<path_to_your_acceleration_ready_vivado_xsa_file>
In my case, the command is as follows:
petalinux-config --get-hw-description= ~/Downloads/osdzu3_sip-master_latest/osdzu3_sip-master/Vv_21_2/OSDZU3_Ref_Design/Vivado/ OSDZU3-REF_Accl_Platform.xsa
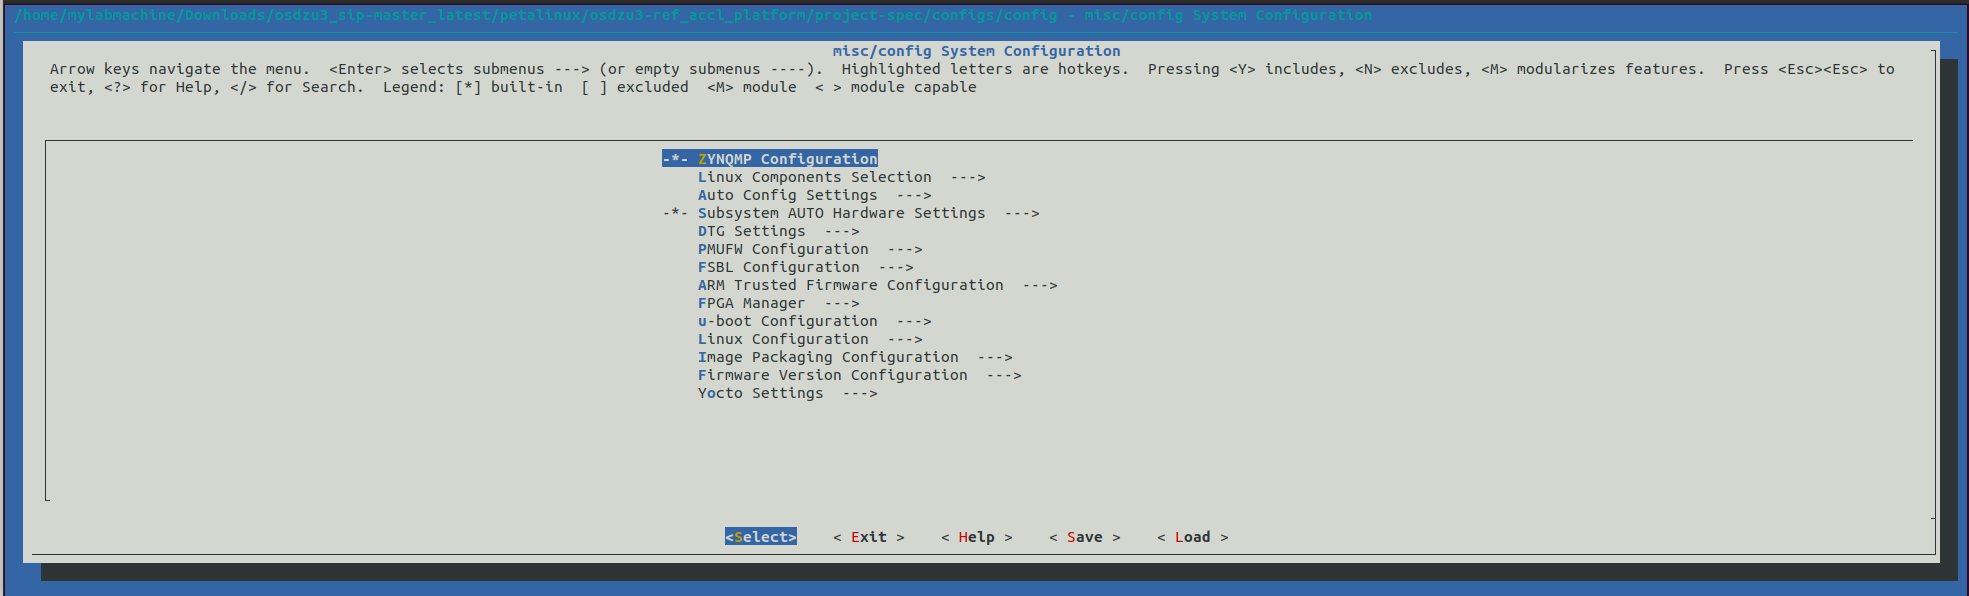
- Once you run the above command, the petalinux configuration window will appear as shown below. You can exit it for now without making any changes. We’ll be making changes as necessary in the following sections.

Rootfs configuration
Add packages required for Acceleration in Rootfs
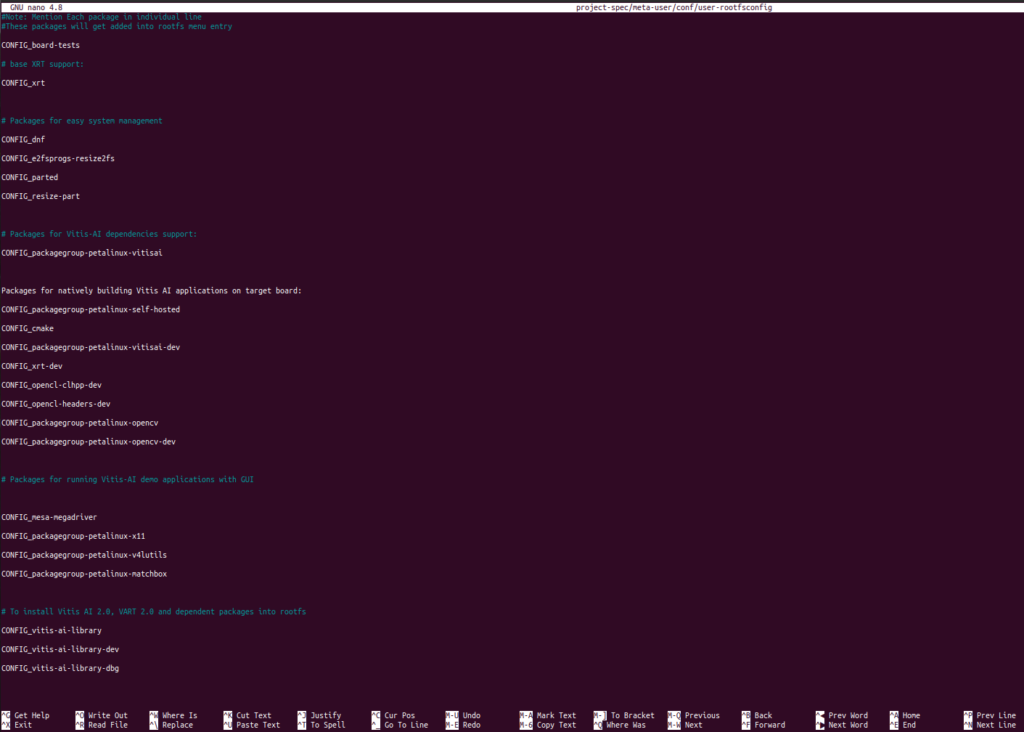
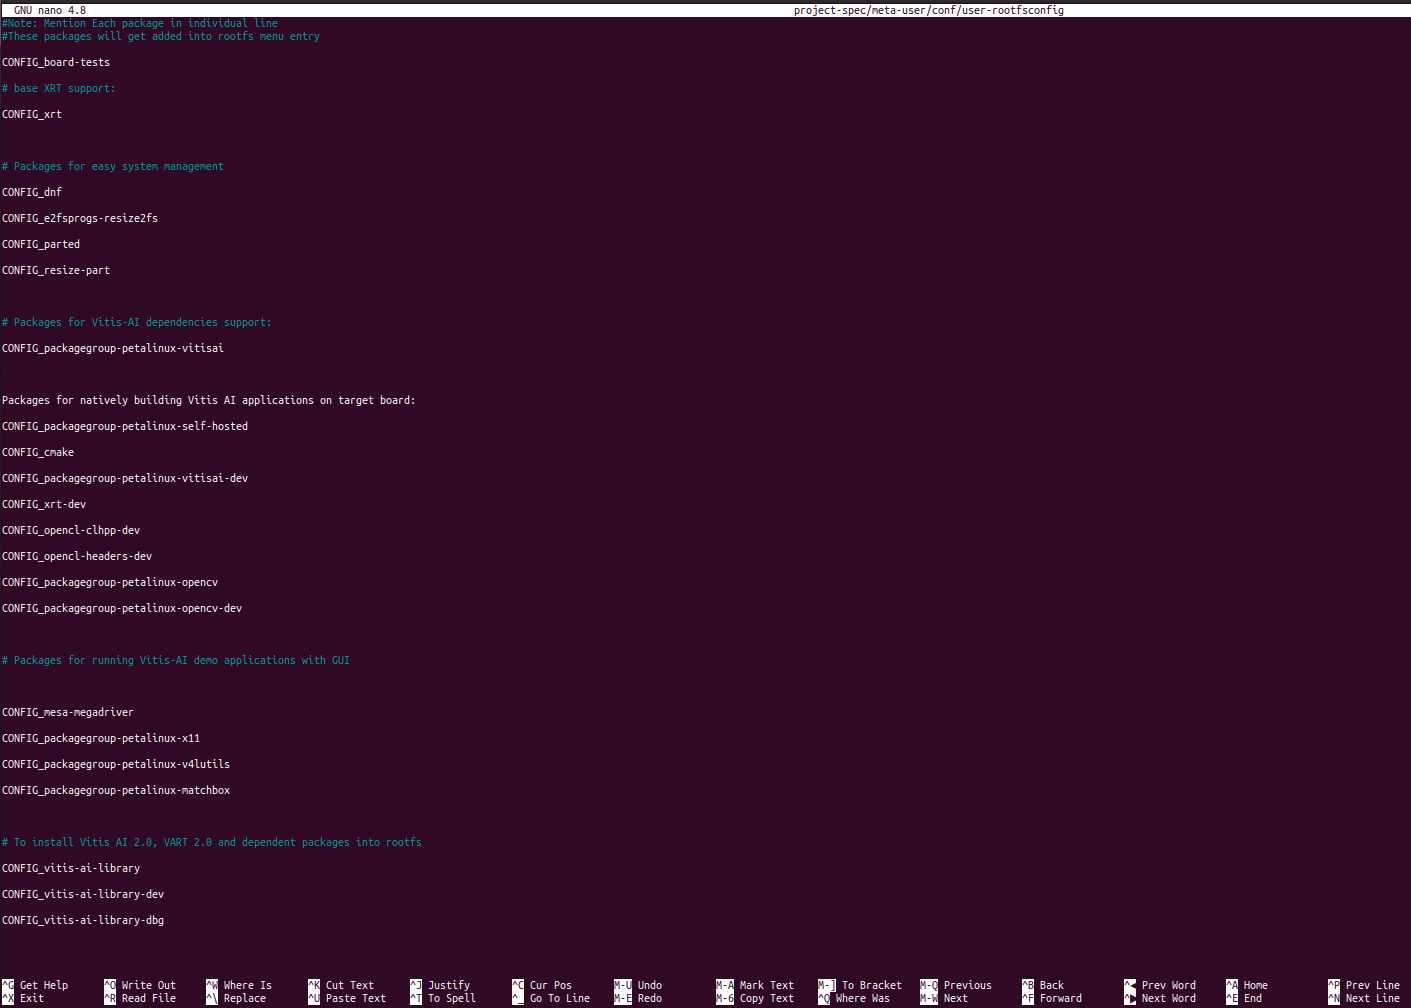
- Open “user-rootfsconfig” file and append (copy and paste) the below lines to the end of the file:
nano project-spec/meta-user/conf/user-rootfsconfig# base XRT support: CONFIG_xrt # Packages for easy system management CONFIG_dnf CONFIG_e2fsprogs-resize2fs CONFIG_parted CONFIG_resize-part # Packages for Vitis-AI dependencies support: CONFIG_packagegroup-petalinux-vitisai #Packages for natively building Vitis AI applications on target board: CONFIG_packagegroup-petalinux-self-hosted CONFIG_cmake CONFIG_packagegroup-petalinux-vitisai-dev CONFIG_xrt-dev CONFIG_opencl-clhpp-dev CONFIG_opencl-headers-dev CONFIG_packagegroup-petalinux-opencv CONFIG_packagegroup-petalinux-opencv-dev # Packages for running Vitis-AI demo applications with GUI CONFIG_mesa-megadriver CONFIG_packagegroup-petalinux-x11 CONFIG_packagegroup-petalinux-v4lutils CONFIG_packagegroup-petalinux-matchbox # To install Vitis AI 2.0, VART 2.0 and dependent packages into rootfs CONFIG_vitis-ai-library CONFIG_vitis-ai-library-dev CONFIG_vitis-ai-library-dbg
- Press Ctrl key + O on the keyboard to save on Nano editor
- Press Ctrl key + X to exit Nano editor

- Enable all the added packages:
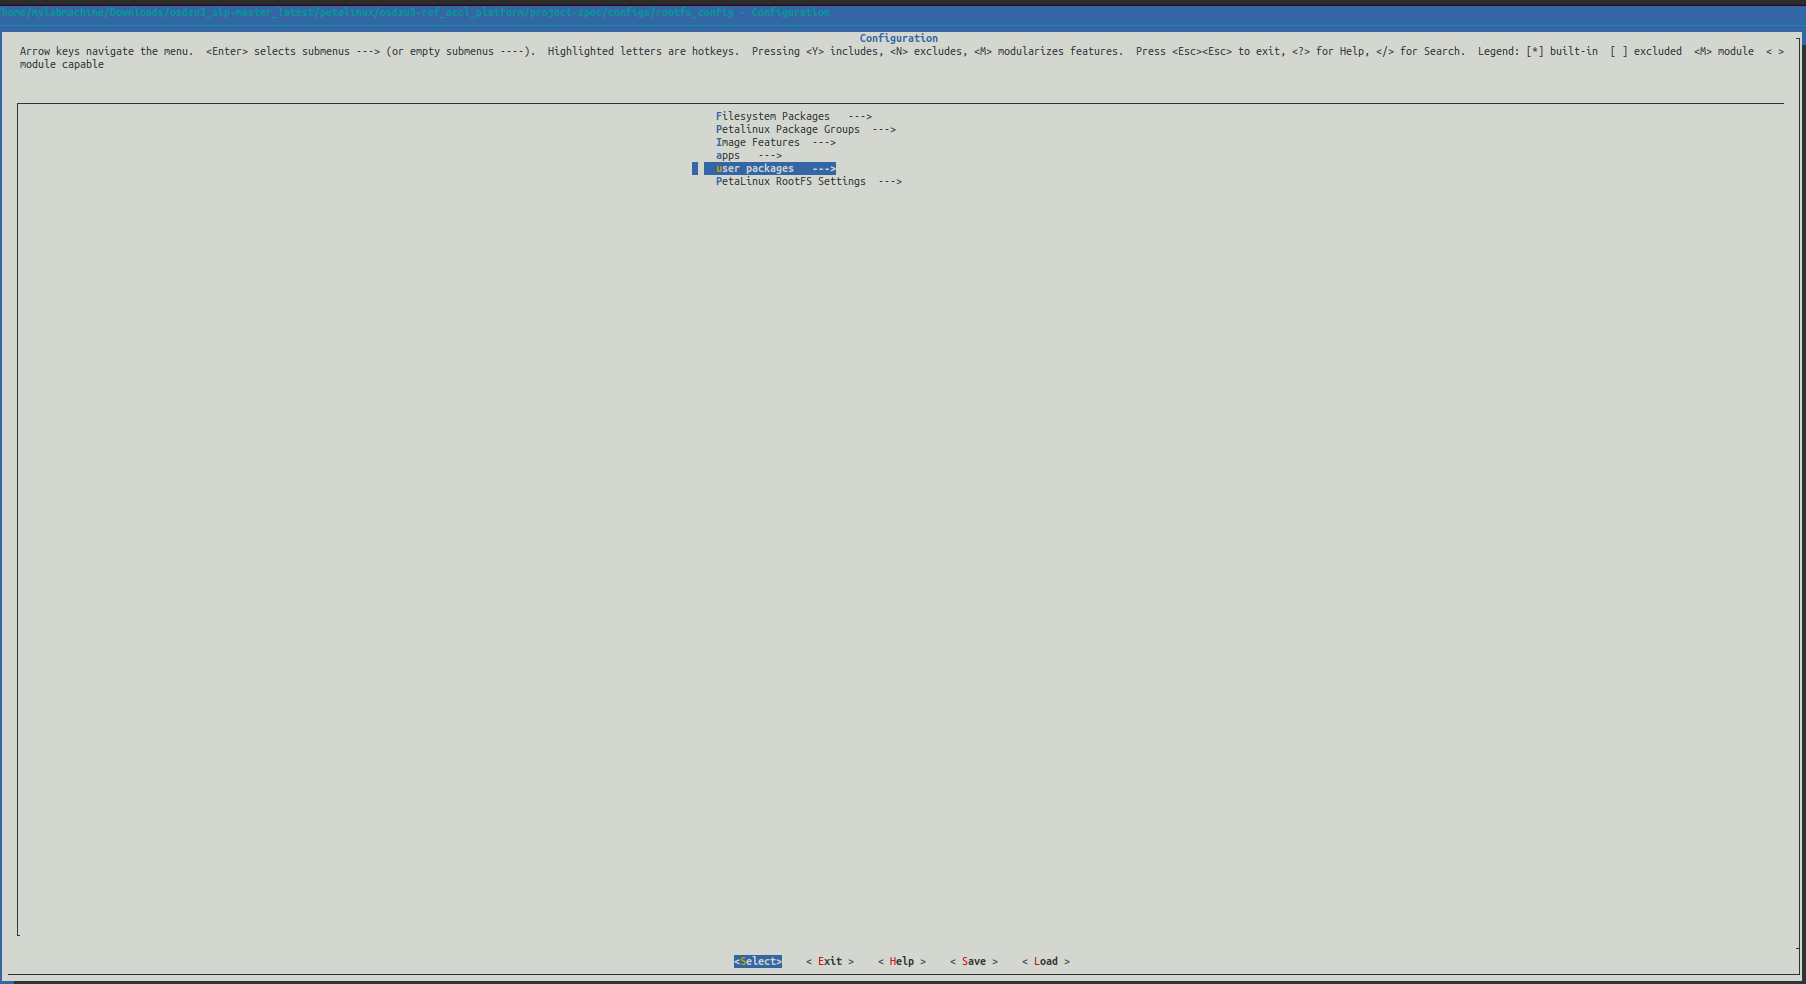
- Open Rootfs Configuration:
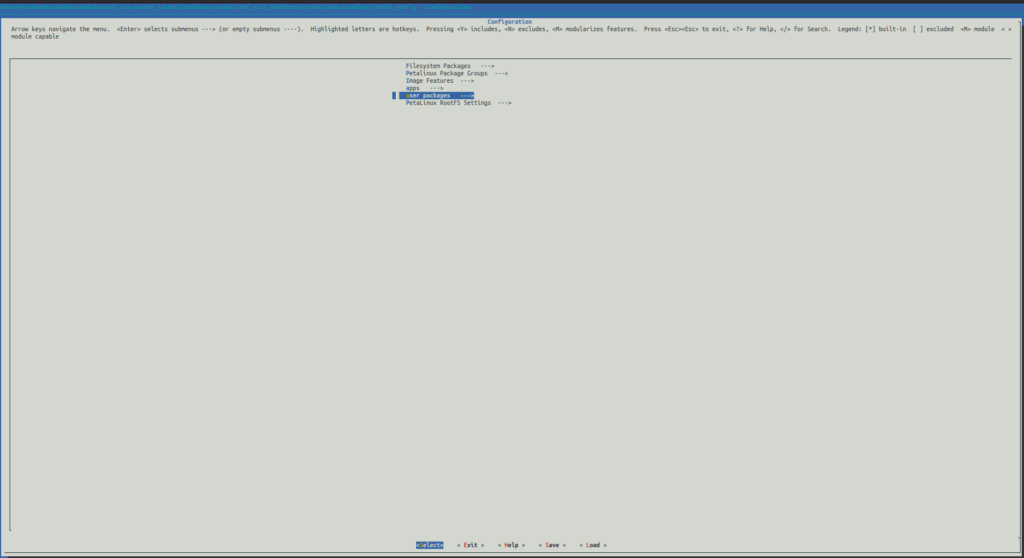
petalinux-config -c rootfs - Select User Packages

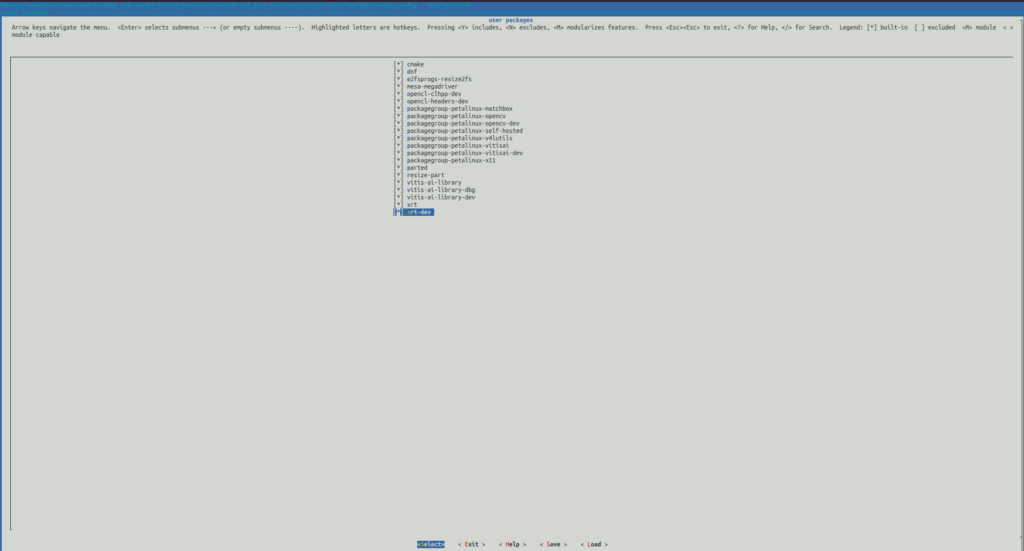
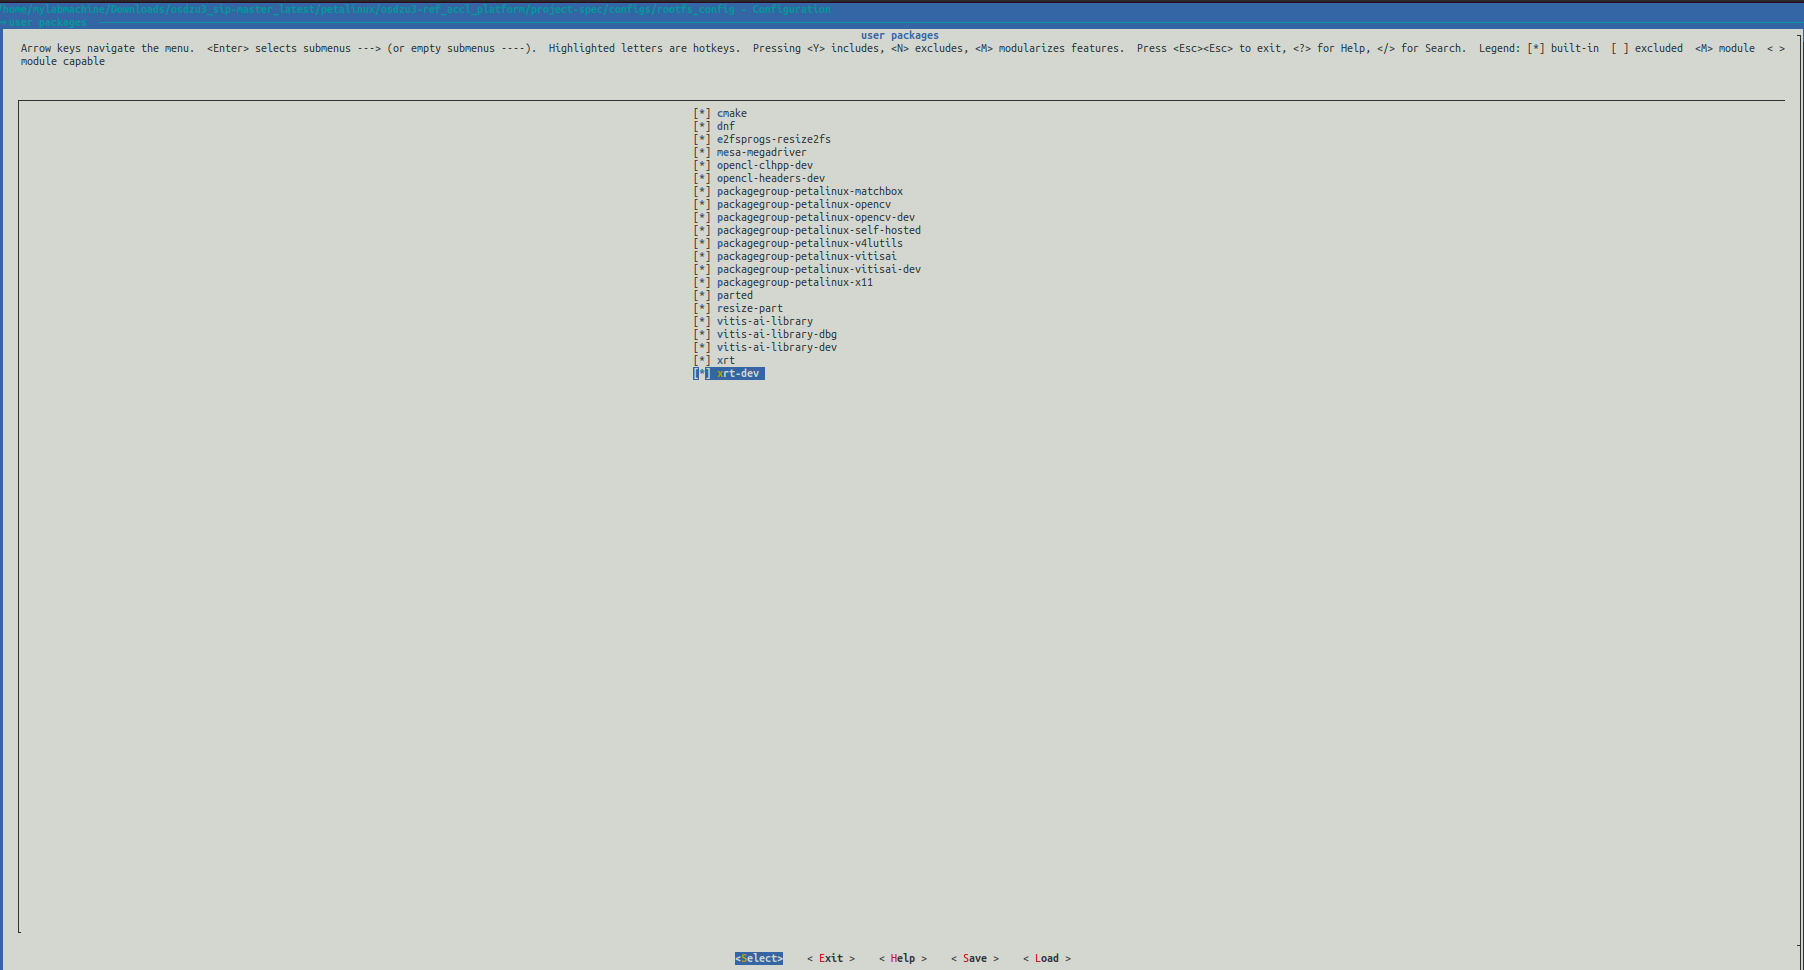
- Enable all the libraries we added in the previous step by pressing “Y” on the keyboard for each as shown below.

- Open Rootfs Configuration:
Configure Network Management in Rootfs
Vitis-AI applications may use remote display feature to show machine learning results over SSH. To improve the remote display experience, replace the default Dropbear SSH with OpenSSH. OpenSSH has the potential for up to 4x faster data transmission.
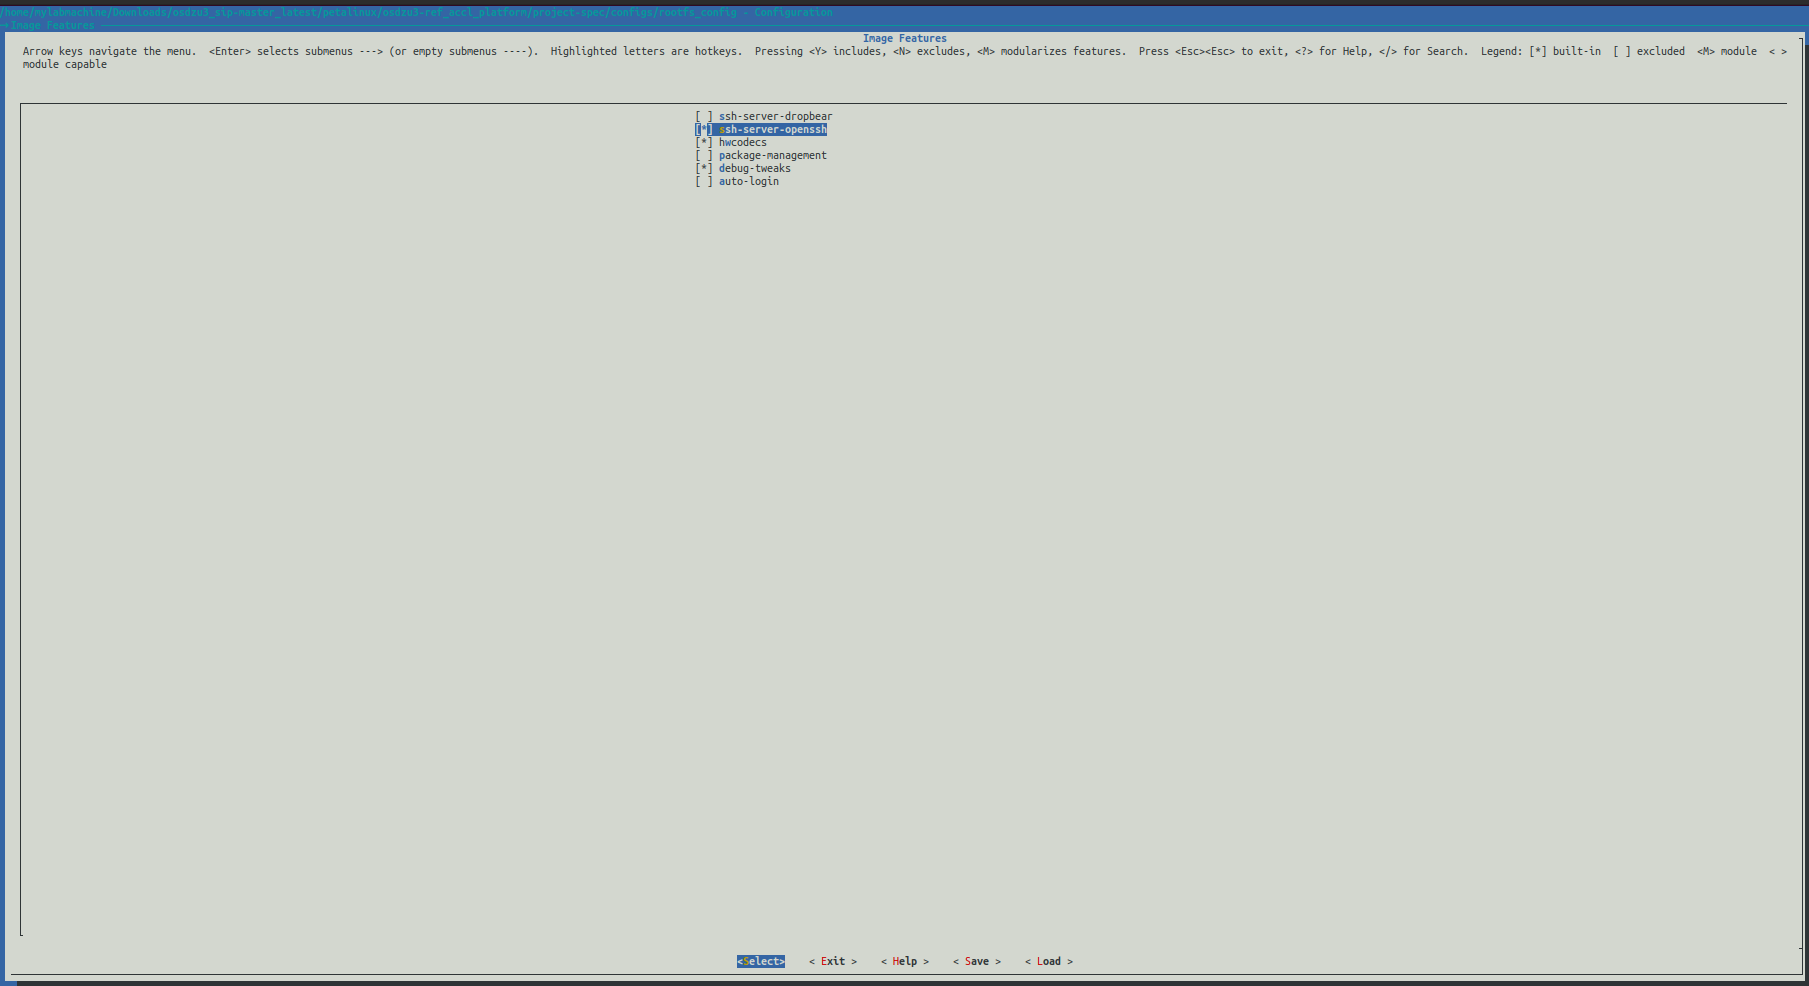
- In the Rootfs configuration window, go to Image Features
- Disable ssh-server-dropbear by pressing “N” and enable ssh-server-openssh by pressing “Y”
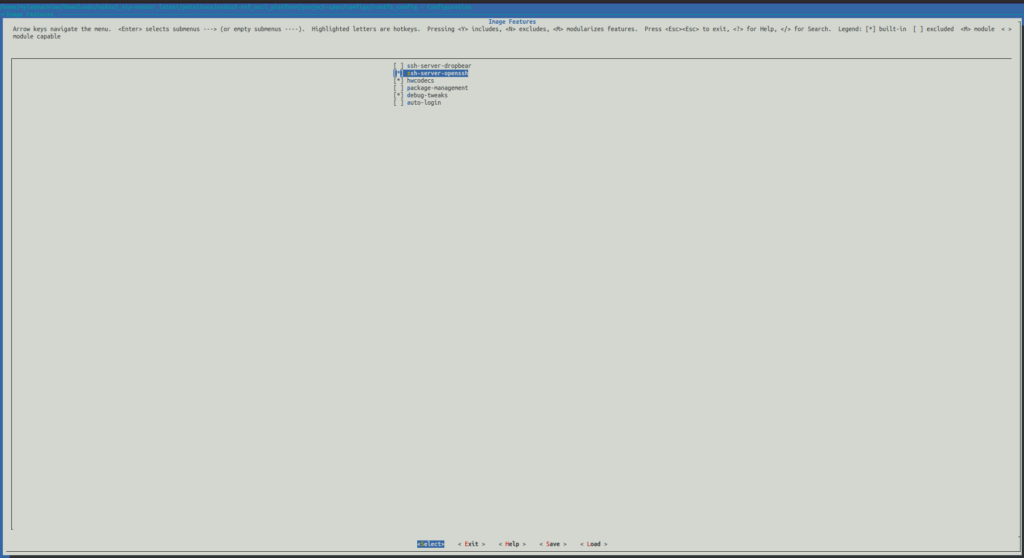
- Click Exit
- Go to Filesystem Packages > misc > packagegroup-core-ssh-dropbear > disable packagegroup-core-ssh-dropbear
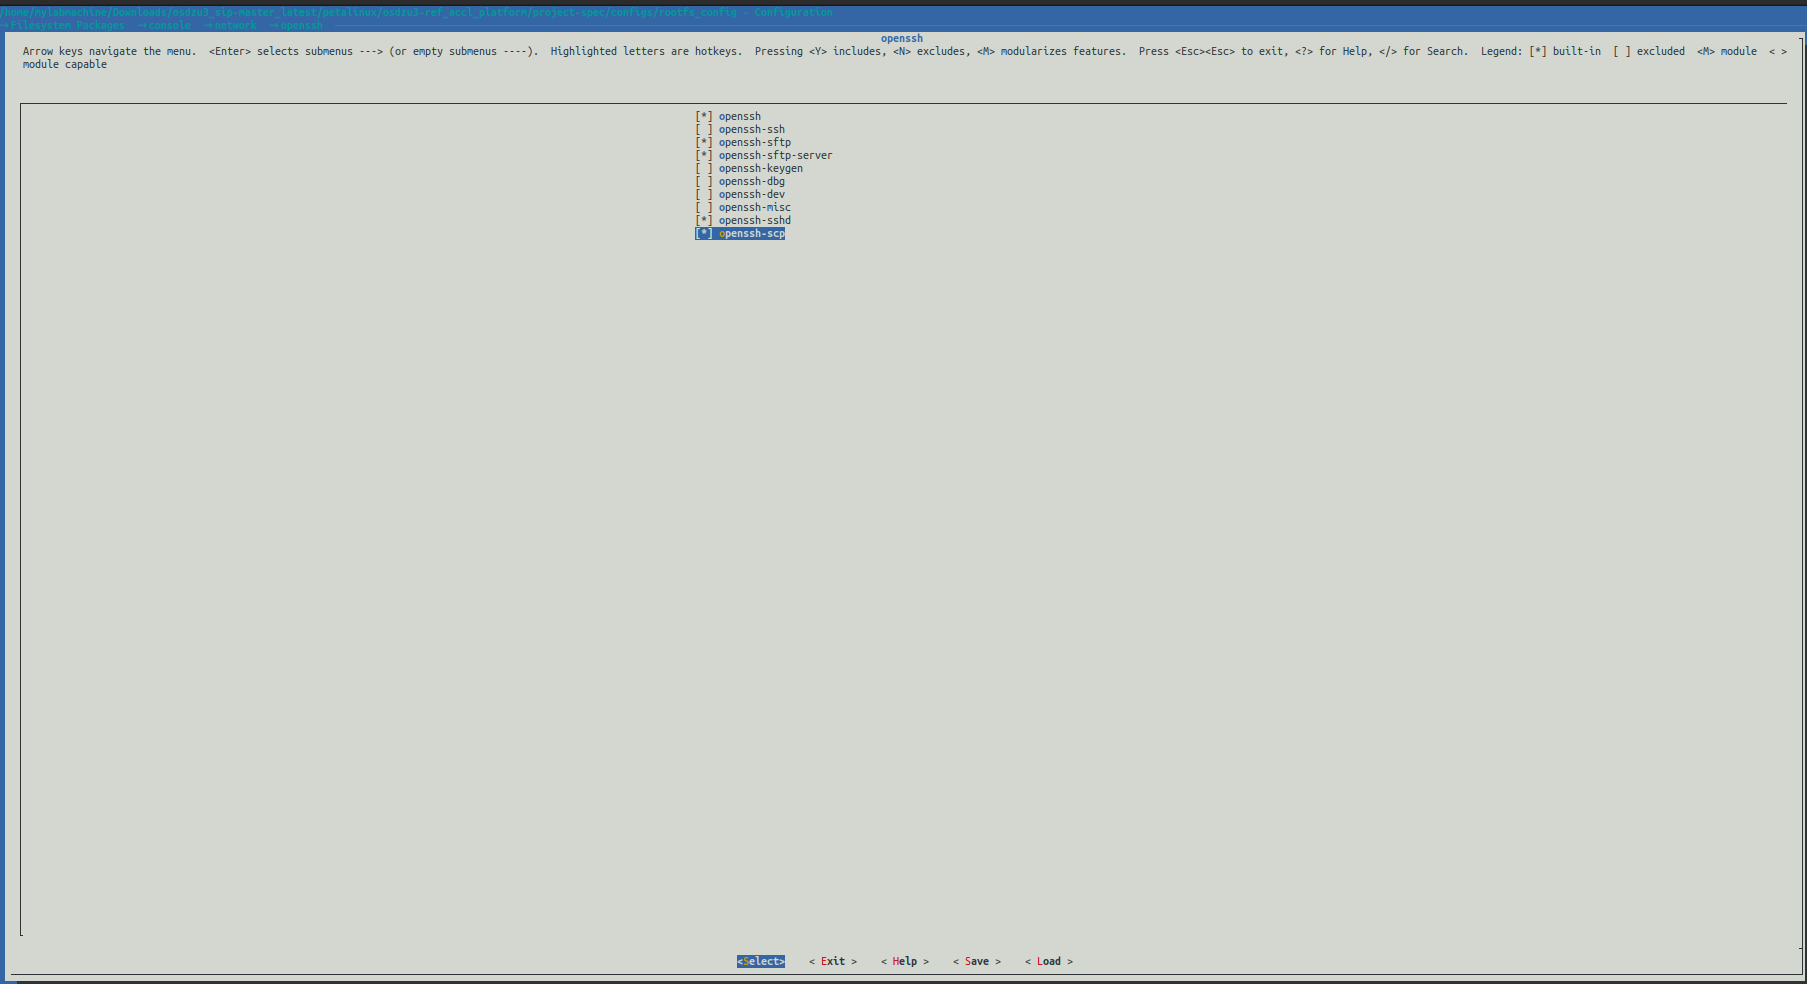
- Under Filesystem Packages > console > network > openssh > enable the following:
- Openssh
- openssh-sftp
- openssh-sftp-server
- openssh-sshd
- openssh-scp
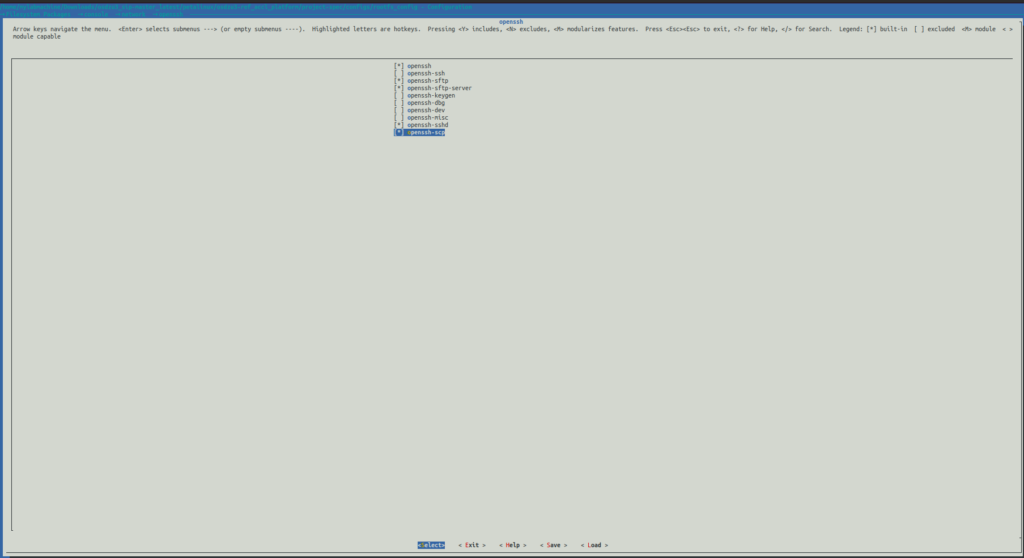
- Save and Exit
Configure Package Management in Rootfs
- Go to Image Features > Enable the following:
- package-management
- debug_tweaks
- Click OK
- Exit twice
- Select Yes to save the changes

Add EXT4 Rootfs Support
Make Petalinux generate EXT4 Rootfs:
- Run
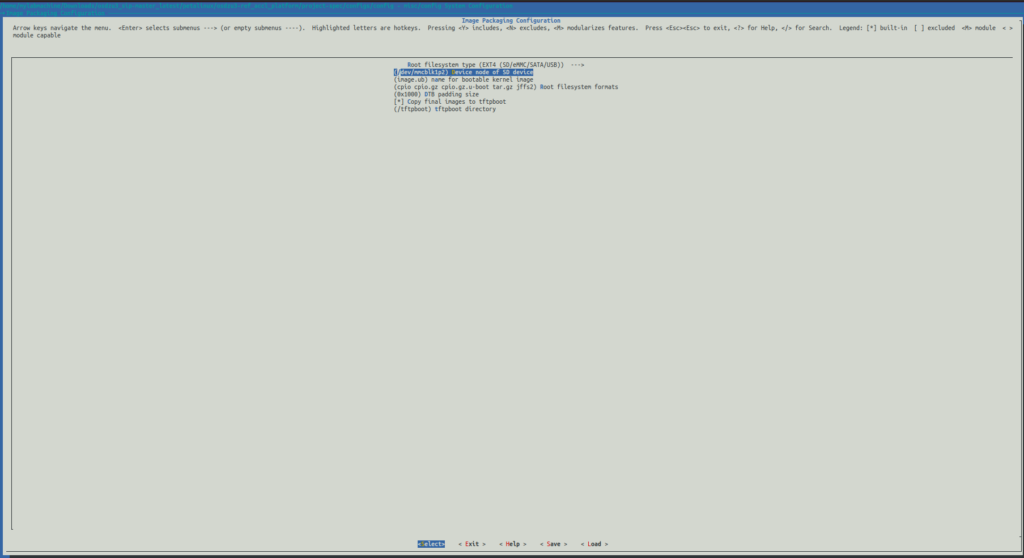
petalinux-config - Go to Image Packaging Configuration
- Set Root File System Type as EXT4
- Set Device node of SD device to:
/dev/mmcblk1p2 - Exit and Save

Make Petalinux use EXT4 Rootfs during boot:
- Run
petalinux-config - Set DTG settings -> Kernel Bootargs -> generate boot args automatically > NO (press “N”)
- Update User Set Kernel Bootargs to:
earlycon console=ttyPS0,115200 clk_ignore_unused root=/dev/mmcblk1p2 rw rootwait cma=512M
clk_ignore_unused: it tells Linux kernel not to turn off unused clocks. This is useful to keep clocks that only drive PL kernels ON because PL kernels are not represented in device tree.
- cma = 512M: CMA is used to exchange data between PS and PL kernels. Vitis-AI and DPU PL kernels require at least 512MB CMA.

Make Petalinux generate .EXT4 Root FS image output
- Run
petalinux-config - Go to Image Packaging Configuration > Root filesystem formats


- Delete all other default formats and enter the following:
- Save and exit

Configure Kernel CPU Power Management
During debugging, especially over JTAG, the hardware server on the Host machine talks to the processor regularly. If CPU idles during debugging, the system will hang due to incomplete AXI transactions. Therefore, it is beneficial to disable CPU IDLE during project development. It can be re-enabled in the final product.
- Disable CPU Idling in Kernel Config
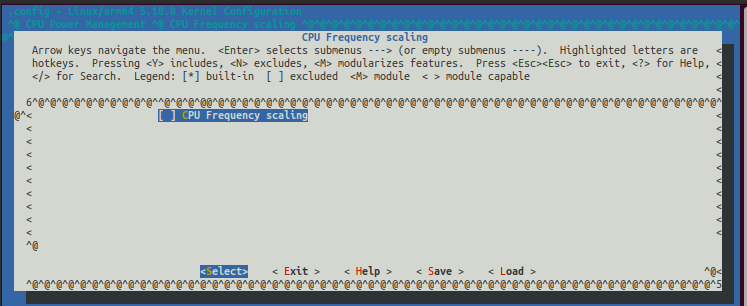
- Launch kernel config: petalinux-config -c kernel
- Make sure the following items are disabled:
- CPU Power Management > CPU Idle > CPU idle PM support


- CPU Power Management > CPU Frequency scaling > CPU Frequency scaling

- CPU Power Management > CPU Idle > CPU idle PM support
- Exit and Save
Update Device Tree if necessary
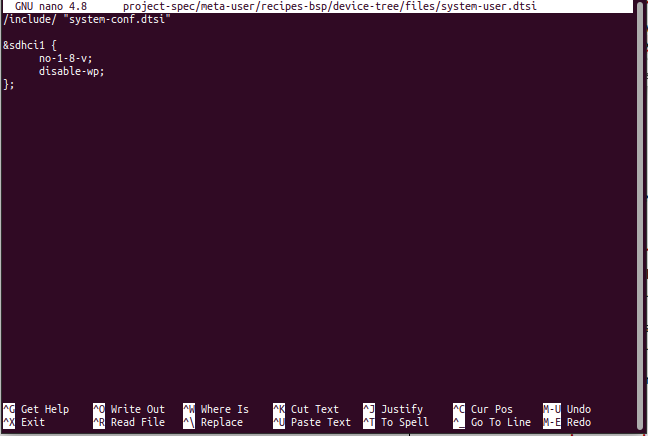
Set sdhc1 to low-speed mode by adding the following lines to <your_petalinux_project_dir>/project-spec/meta-user/recipes-bsp/device-tree/files/system-user.dtsi:
&sdhci1 {
no-1-8-v;
disable-wp;
};
Build Petalinux Images
- From your Petalinux project root, build the petalinux project.
petalinux-build

- Create sysroot self-installer for target linux system
petalinux-build --sdk

Test the Acceleration Ready Petalinux Image
From Petalinux project root,
- Package the bootloader, PL logic and generate BOOT.BIN:
petalinux-package --boot --u-boot --fpga --force
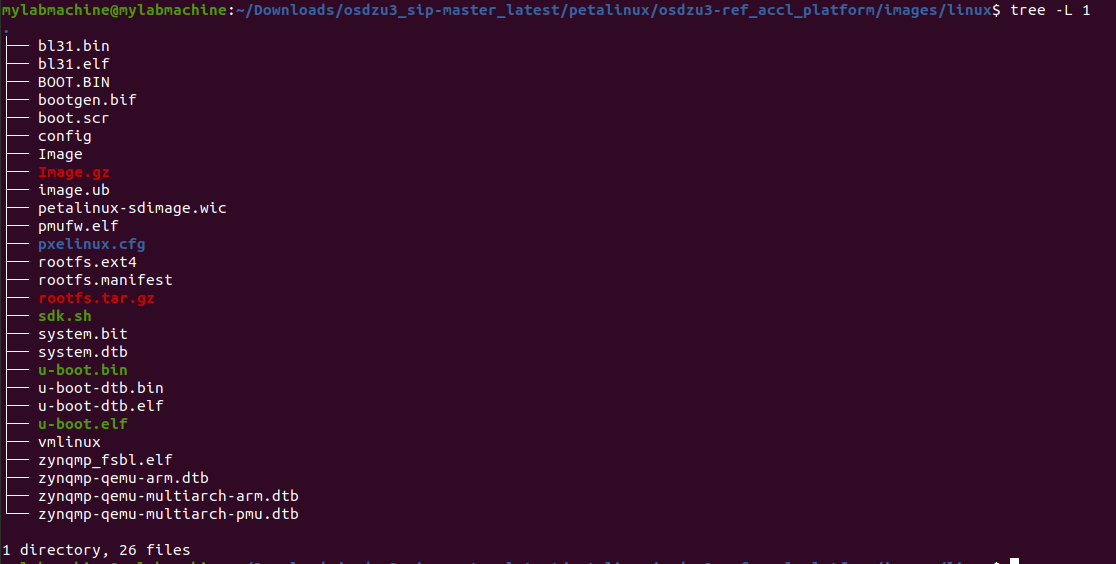
BOOT.BIN file should be available under images/linux - Generate a WIC SD card image:
petalinux-package --wic --wks support/sd-boot.wks
The SD card image file, petalinux-sdimage.wic, should become available under /images/linux as shown below.

- Check if the acceleration ready image boots by doing the following:
- Flash the petalinux-sdimage.wic image on to a µSD card using a tool like Etcher
- Insert the µSD card into the OSDZU3-REF board
- Attach 12V input power, µUSB cable (for UART console access) and external monitor to the OSDZU3-REF board (see OSDZU3-REF Getting Started Guide for board bring-up)
- Set the boot mode to SD1 (0101)
- Turn on the board by toggling the power switch.
- You should be able to see boot messages on the UART console of your host PC and a linux login prompt.
- Login username: root
- Password: root
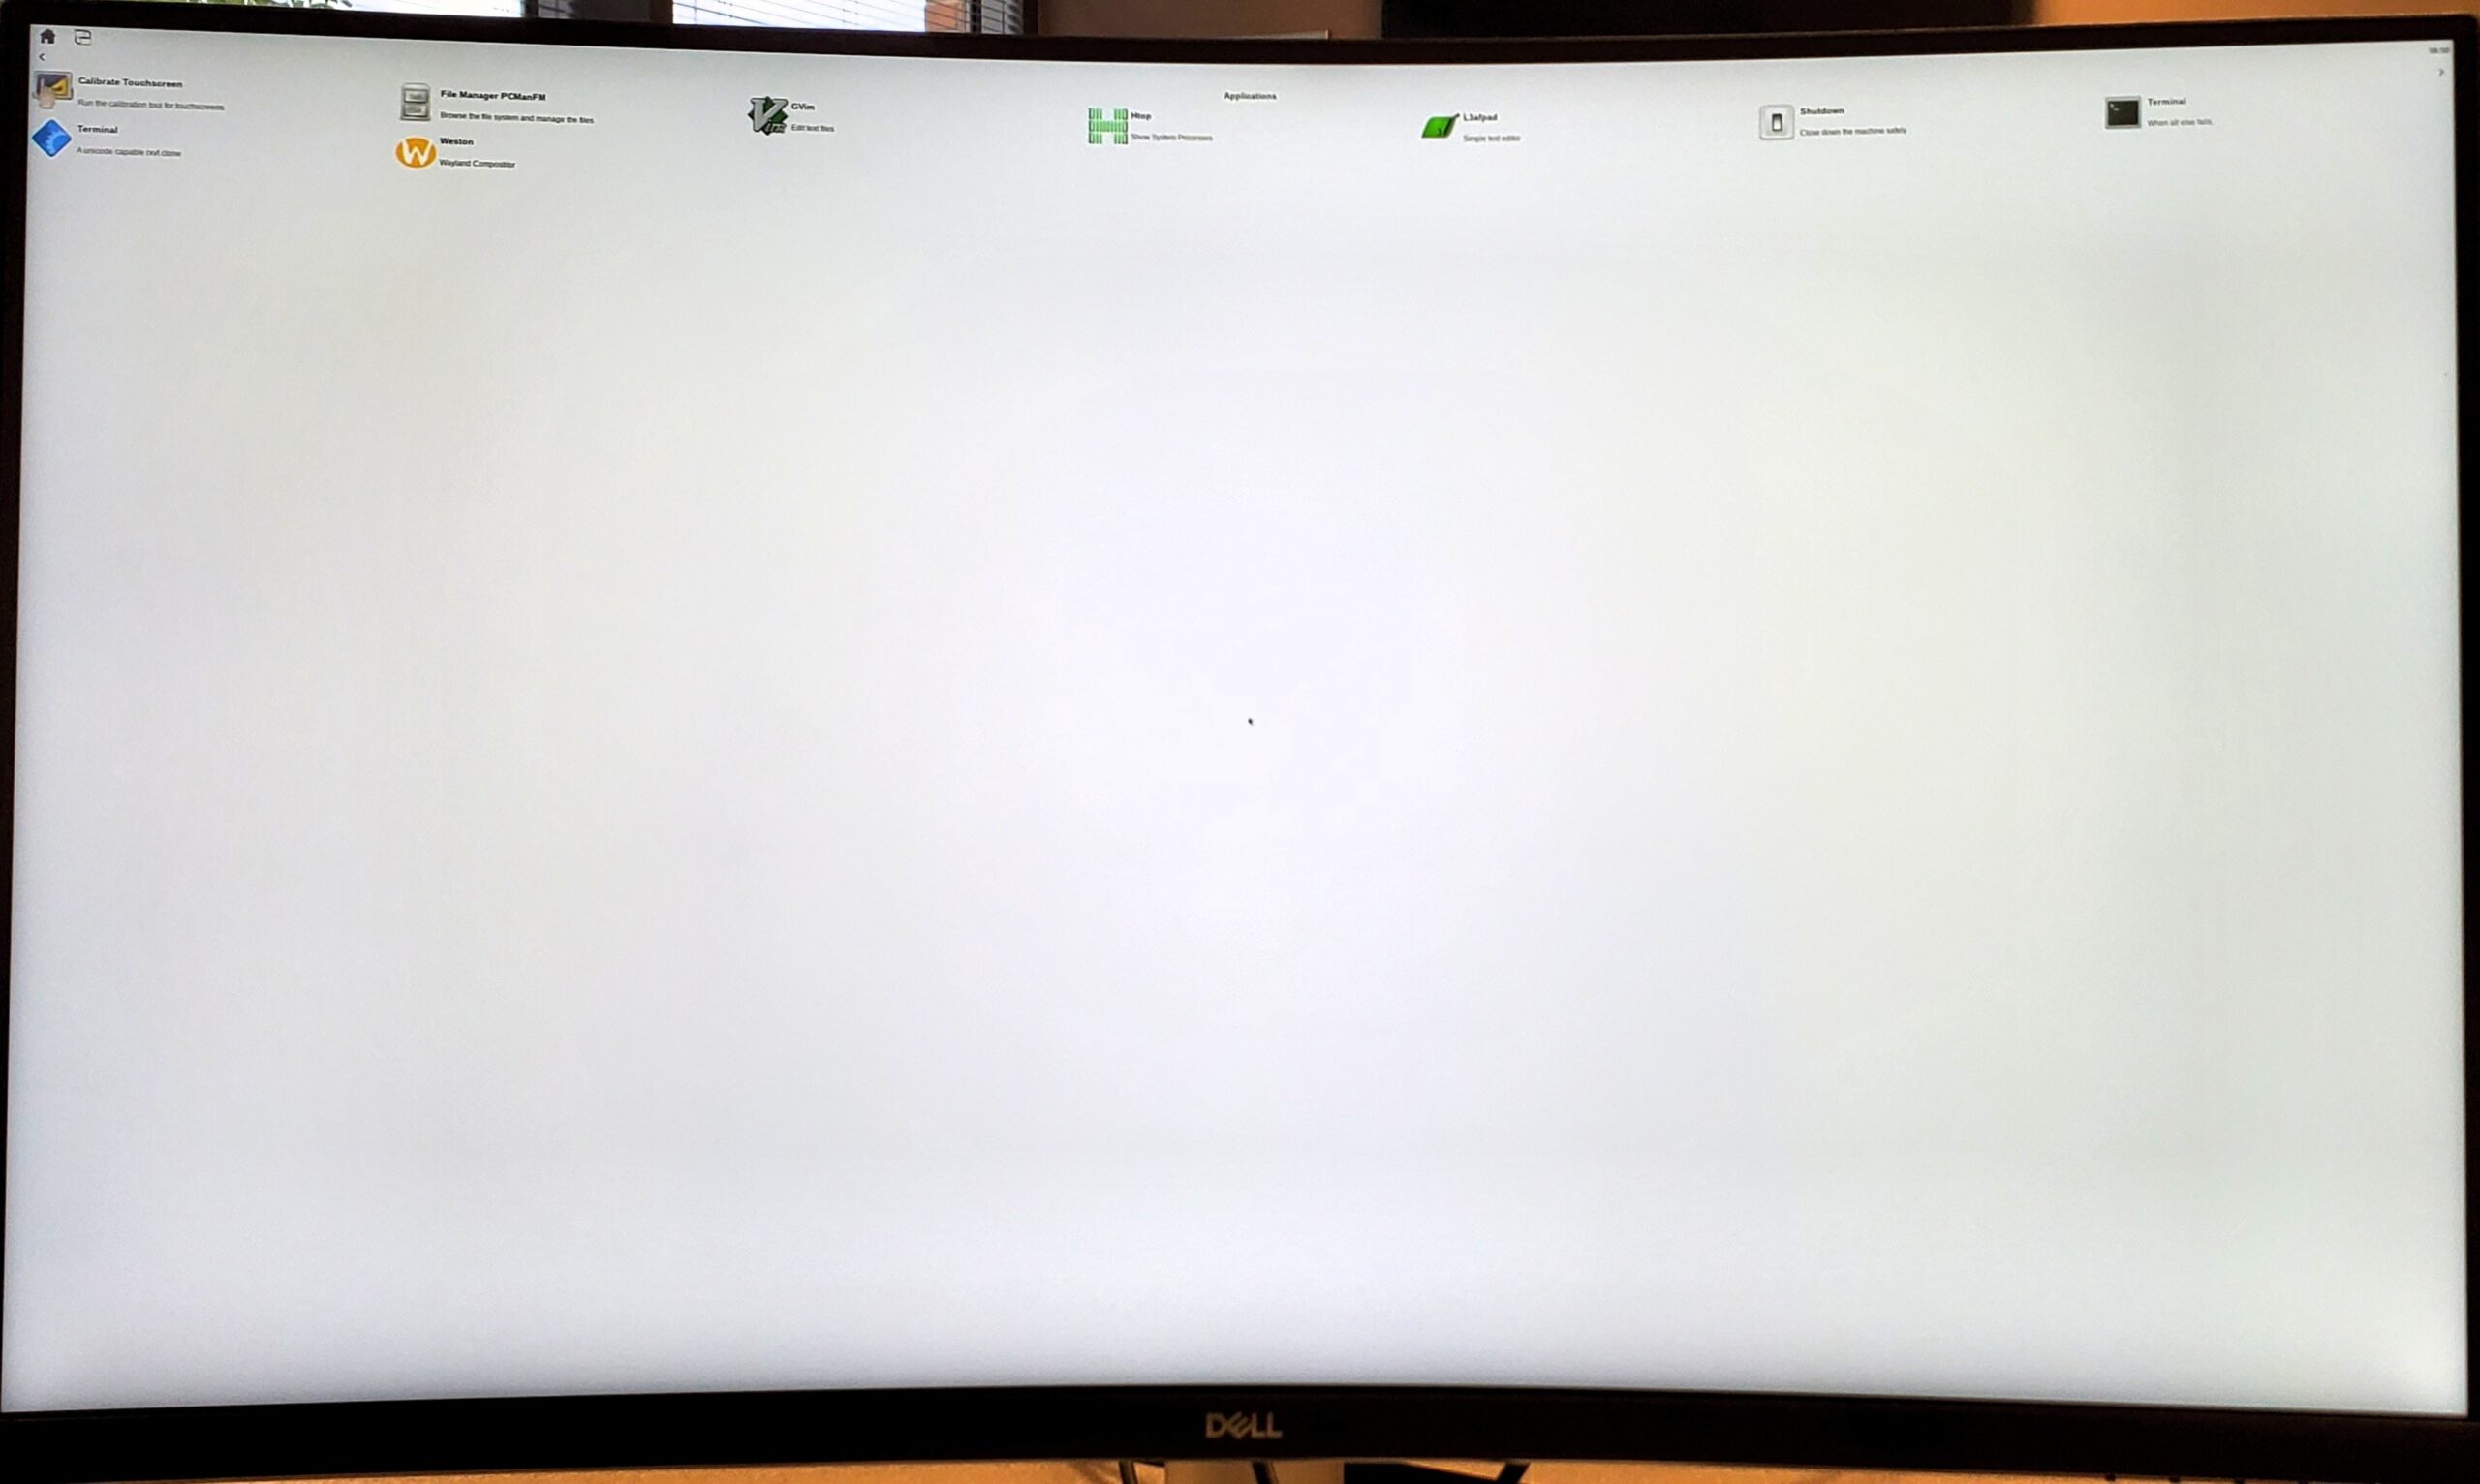
- Desktop GUI should appear on your external monitor as shown below.


Further Reading
Continue the OSDZU3 Acceleration journey and generate an Acceleration Ready Vitis Platform by reading Part 3 of the 4-part Acceleration Tutorial.
Revision History
Get notified of updates to this Application Note and all of our Technical Documentation.
"*" indicates required fields
| Revision Number | Revision Date | Changes | Author |
| 1 | 11/13/2023 | Initial Revision | Eshtaartha Basu |